Newly Added Crochet Patterns
- Elegant Throw Pattern #692
- Hexagon Afghan Pattern #689
- Potholder Pattern #9430
- Potholder Pattern #9417
- Star Tablecloth Book | Book 28 | American Thread Company
- New Table Talk | Book No. 157 | The Spool Cotton Company
- Tables of Tomorrow | Book No. 135 | The Spool Cotton Company
- New Table Settings | Book No. 95 | The Spool Cotton Company
- Lilac Time Tablecloth Pattern #7651
- Muffin Cozy Pattern #7629
- Tea Cloth Pattern #7606
- Bread Tray Doily Pattern #7634
Handknits for Babies by Beehive | Book No. 78
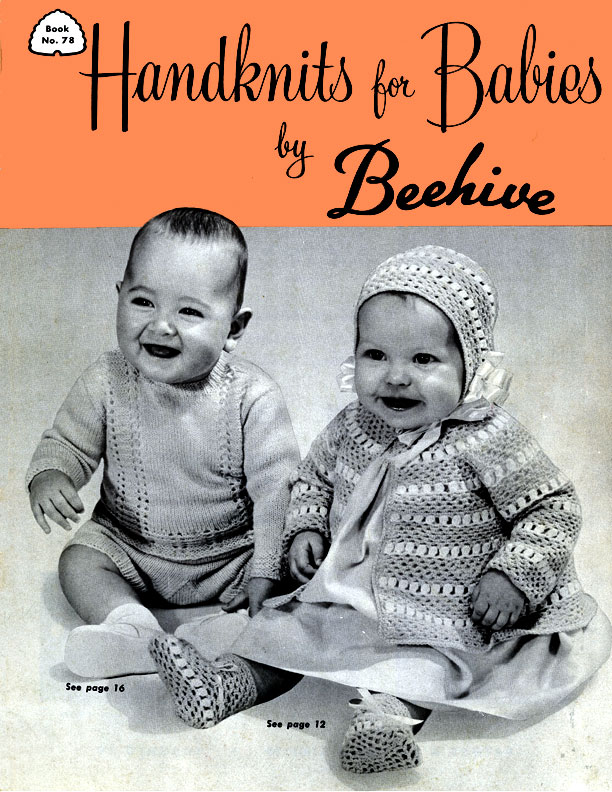
Handknits for Babies by Beehive
Book No. 78
Patons & Baldwins Limited
No Original Copyright
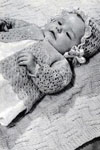
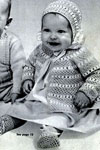
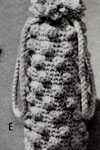
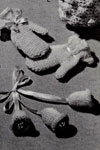
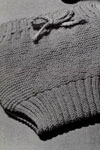
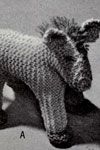
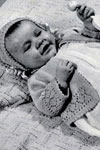
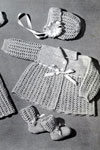
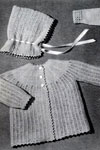
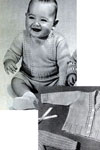
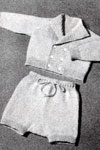
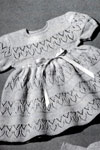
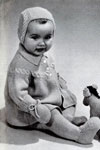
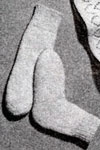
Mitts, Carriage Bells & Slippers, Soaker for 3 to 6 months, Baby Bottle Cosy, Toy Horse, Coverlet, Knitted Eyelet Set for 3 months, Knitted Lace Wardrobe for 3 months, Crocheted Set for 3 months, Crocheted Set for 6 months, Shoulderette for 6 months, Knitted Set for 6 months, Cardigan and pullover for 6 months, Cardigan and Knickers for 9 to 12 months, Knitted Dress for 9 to 12 months, Carriage Set for 9 to 12 months, Heel-less Socks.
IMPORTANT INFORMATION
The designs in this book, when made to exact tension with the wool specified in the instructions, will produce garments with the same measurements as given at the top of each instruction and thus fit an average baby of the given age. There is, however, such variation in size between one baby and another that age is not, of course, a completely accurate guide.
The chest measurement and weight of baby for each size as used in this book are as follows:—
AGE WEIGHT CHEST
3 months 11½ lbs. 18 ins.
6 months 16 lbs. 19 ins.
9 months 19 lbs. 19½ ins.
12 months 20 lbs. 20 ins.
JOINING WOOL
When you have to join a new ball of wool, or replace a knot, the simplest way is to join at the beginning of a row, even if you have to pull back a partly knitted row. It is preferable, if possible, to join at a seam edge so that the ends can be neatly darned into a seam when the garment is sewn up.
If you are working in rounds, or in straight work, and there is a knot in the wool you are using, cut out the knot. Unwind the plies of each of the two ends of wool, for about 2 ins. and splice as follows:—
In 2 ply, break off one of the threads from each length of wool; in 3 ply two from one end and one from the other; in 4 ply two from each end. Place the remaining ends together, thus forming the 2, 3, or 4 ply thickness again; twist them together with the fingers and knit in the usual way with the twisted wool thus formed.
Owing to the numerous processes through which wool has to pass, it is impossible to avoid occasional knots, so—Remember for a neat finish and comfort to the wearer, never knit a knot into your garment!—Either pull back to the seam, or splice.
THE WASHING OF WOOLLIES
Well knitted woollies are worthy of careful treatment. They will give long service and keep their shape and softness if this simple routine is followed:—
WASHING
Dissolve completely a little soap, flakes or powder, cold water soap or good detergent in a small quantity of hot water. Add cold water until the soap suds are only lukewarm (too hot for the elbow is altogether too hot for woollies). Detergents require much cooler water.
Place the garment in the suds and squeeze gently. Do not rub or leave to soak.
When the garment is clean, squeeze as much water out as possible but do not wring or twist.
Keep the garment supported by the hands whenever it is removed from the water.
RINSING
Rinse at least twice in clean water, no warmer than the washing suds. Every trace of soap must be removed.
Be sure to add a few drops of white vinegar to the final rinse water. This is most important, particularly when other shades are knitted with WHITE.
DRYING
Never let woollies lie wet. Remove all moisture at once by rolling in a thick towel.
Ease the garment back to its original size and shape. Dry on a flat surface away from excessive heat. Do not hang up—Dry flat.
NOTE:
Most washing troubles are caused by:—TOO HOT WATER, TOO MUCH SOAP, TOO MUCH RUBBING, TOO LITTLE RINSING.
PATONISED WOOLS
To ensure the fullest benefit of increased wearing properties, it is recommended that the foregoing washing routine be followed for garments knitted from Patonised Shrink-resist wools.
CHECK TENSION
The garments in this book are worked to the exact tension given. They are closely knitted to ensure a firm fabric that will wear better and keep its shape longer than a loosely knitted fabric. Check your tension. Before beginning your garment take the wool and needles specified. Cast on 20 stitches. Work 20 rows stocking stitch. Lay work flat on a table and place a ruler across the stitches. Count the number of stitches to one inch and compare with the tension given in the instructions. All given tension in Beehive instructions is measured over stocking stitch. If your tension is too loose try a size smaller needle. If your tension is too tight try a size larger needle.
Be sure to work to exact tension given if you want your garment to work to correct size.
WOOLS TO USE
Every instruction in this book has been carefully prepared with the wool recommended; for perfect satisfaction be sure to use only the wool specified. When purchasing the wool, be sure to buy enough in one dye lot to complete the garment chosen and avoid trouble in having to match the shade later.
TO BLOCK AND PRESS
Place all knitted pieces on a pad, right side down, measure and pin them to size and shape using rustless pins. Cover with a damp cloth. Holding a hot iron close enough to the cloth to draw steam, smooth over each piece, except for the ribbed bands. Do not press the iron on the work at any time. Remove cloth and leave pieces to dry.
ABBREVIATIONS
KNITTING:
K—knit plain.
st.—stitch.
P—purl.
sts.—stitches.
sl.—slip.
w.o.n.—wool over needle.
w.r.n.—wool round needle.
tog.—together.
inc.—increase.
ins.—inches.
dec.—decrease.
wl.fwd.—wool forward.
p.s.s.o.—pass slip stitch over.
t.b.l.—through back of loops.
CROCHET:
ch.—chain.
tr.—treble.
s.c.—single crochet.
d.c.—double crochet.
s.s.—slip stitch.
h.tr.—half treble.
h.d.c.—half double crochet.
w.o.h.—wool over hook.
d.tr.—double treble.
l.tr.—long treble.
The star symbol (*)—This indicates that the directions immediately following are to be repeated. When directions call for repeating a given number of times, it is understood this is in addition to the original. Thus, repeat 3 times means 4 times altogether.
To knit "even"—The row or work is knitted without increasing or decreasing.
Important: When the instructions read—Cast off 2 sts. K2. (or similar sts.) the stitch on the right hand needle after casting off, is counted as 1 stitch.


